Sunday, September 30, 2012

September in Snapshots

Hello and good morning, lovelies. I’ve been wanting to share more of myself with you guys so I thought I’d start with a few random snapshots that I’ve taken throughout the month of September.

September in snapshots. Sorted by people, places and things.

Enjoy!

{ PEOPLE }

mama

sleepingdaddytoomamaandliammy lovewalkingboy

{ PLACES }

skiescanyonflowersflowers2

{ THINGS }

paintingshotznotionstamales

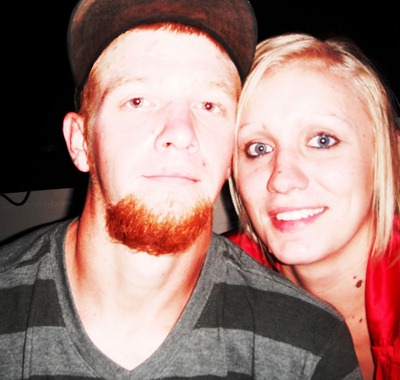
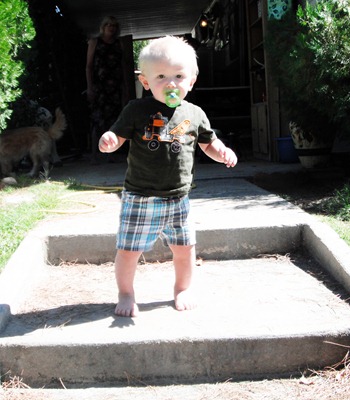
{ PEOPLE } most recent picture of me // my handsome little man sleeping soundly // me and my goofball fiancé // it must run in the family! me and my goofball son! // Daniel and I at a concert in the city // my Liam bear, just walking up a storm :)

{ PLACES } all scenery photos are taken in the Kern River Valley, within 30 miles of my home

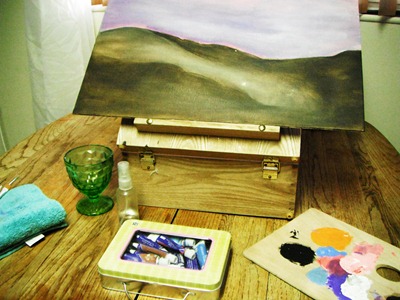
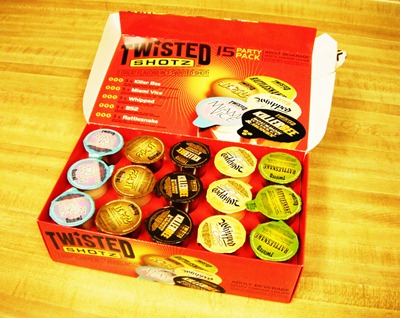
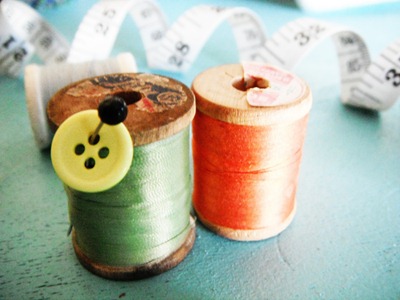
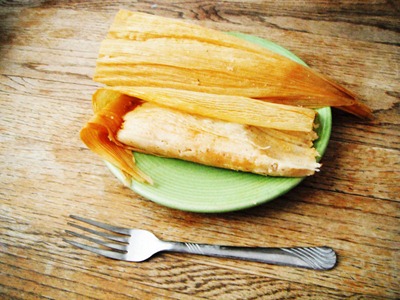
{ THINGS } a landscape painting for my art class // twisted shotz that Daniel bought for me last Friday night ;) // sewing notions (playing with my cameras) // homemade tamales from the local swap meet, NOM NOM!


September flew by, didn’t it?

What kind of things do you do to record special memorial and times throughout your life?

Monday, September 24, 2012

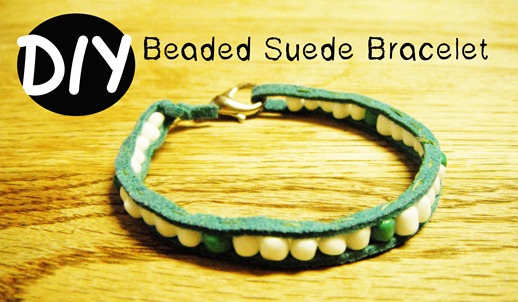
Live Laugh Craft | Volume 5: DIY Beaded Suede Bracelet

Good morning my lovely readers! It’s been two weeks since my last LLC post so this week I want to share a quick bracelet tutorial. Moe and I are both participating in a Fall Friendship Bracelet Swap so we thought that we would post a couple bracelet making tutorial in case some of the other ladies need inspiration.

I had fun designing this bracelet. It is a little time consuming because you have to sew each bead but it turns out really cute and the color and style possibilities are endless!

coversupplies

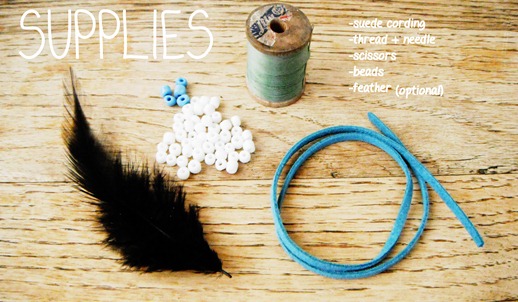
Supplies: Suede cording, thread and needle, scissors, beads (2 colors), feather (optional) and a clasp. I added the clasp after taking the supply picture. Then I ended up not using the feather because it was too much!

step

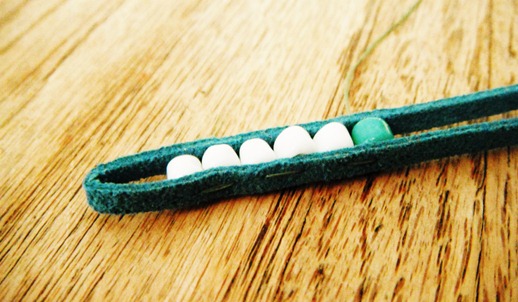
Make sure to leave a small space between the loop and the first bead that you sew. You are going to use the loop to secure your bracelet at the end.

step2

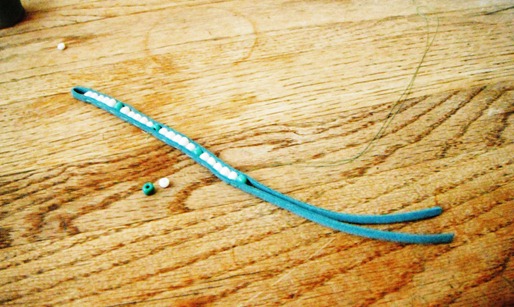
Sew your beads in using a pattern or unique styling of the beads. I did 5 white beads to every 1 aqua bead. Once your finished you can add a clasp or just tie it onto the loop.


Thank you for coming by today! Don’t forget to check out Moe’s bracelet tutorial, she is posting video tutorial this week! :D Also, if you are interested in participating in the Winter gift exchange, email me at sewcalmama@yahoo.com for early registration.

Tuesday, September 18, 2012

DIY Chevron Nail Art

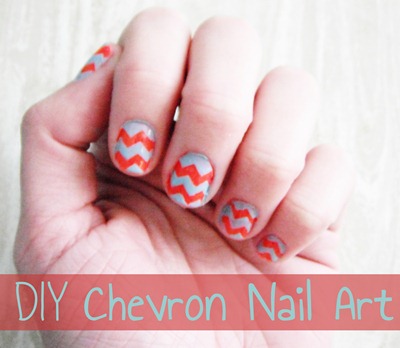
I have an adorable DIY nail art tutorial for you today!I have been seeing chevron nail art all over the place lately so I thought I would try making my own… and I ended up LOVING my new nail art! It’s super easy! Check out the tutorial below to learn how to create your own chevron nail art!

cover

supplies

Supplies: 2 nail polishes, painters tape & pinking sheers.

Untitled-1

To create your nail art, cut think pieces of painters tape with your pinking sheers.

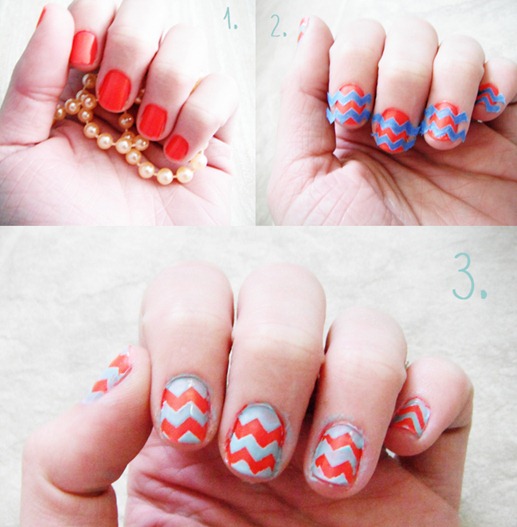
1. Paint your nails with one of the two colors you’ve chosen. Let dry for at least 8 hours.

2. Apply your zig-zag strips. Make sure that your zigs and zags line up or you will not achieve the chevron print.

3. Paint your nails with the second nail polish then remove the tape while the polish is still wet. Apply top coat. Then DONE!

How easy and cute, right?!?
Tuesday, September 11, 2012

Live Laugh Craft | Volume 4: DIY Fabric Scrap Coaster Set

Hello my growing bunch of lovely ladies! I have been so swamped with school, life and my one year old that I had to postpone my LLC project a day! I hope you enjoy these super simple DIY Scrap Fabric Coasters. It took me about an hour to make the set.. so I will definitely be making more soon!
Without further ado, here are my DIY Fabric Scrap Coaters.
cover
supplies
Supplies: 2 contrasting fabrics, interfacing, square and circle templates, disappearing ink pen, scissors, pins.
Pantry Supplies: Sewing machine, iron w/ steam setting.
cut out and
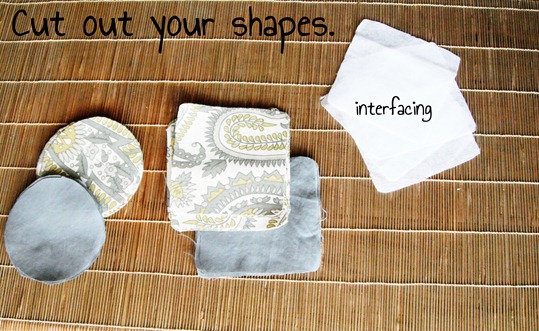
Using your templates, trace and cut out 10 squares and circles of each fabric. You will end up with 10 solid circles, 10 solid squares, 10 patterned circles, 10 patterned squares and 4 square interfacing cut outs.
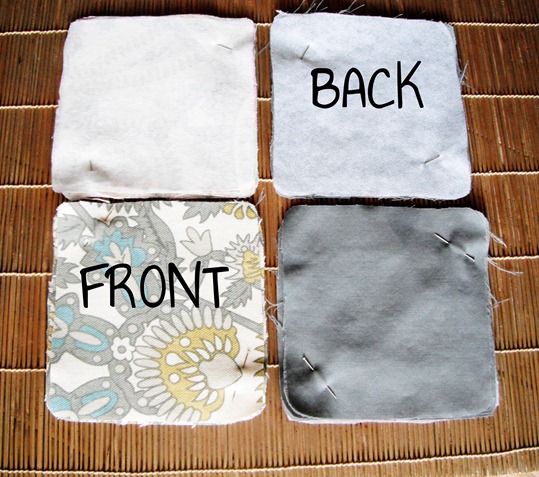
Attach your interfacing on the bottom of each square stack by steam ironing them on. Pin them in place.
PIN THEM
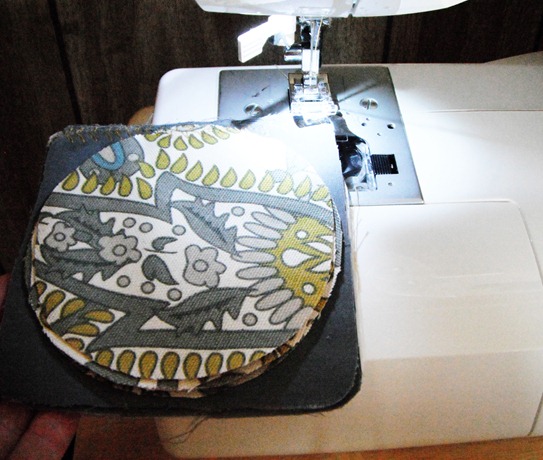
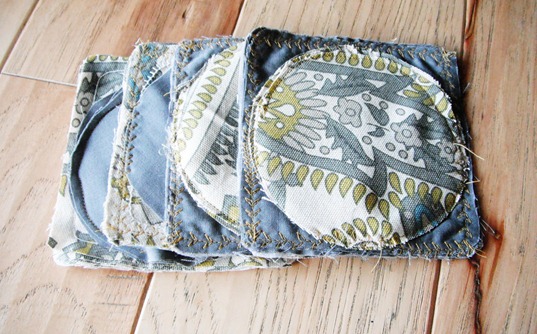
Mix and match your fabrics so the opposite circle is on the pattern. It will end up being 5 patterned squares under 5 solid circles. You will make two of those and two of the opposite fabric combination. Pin them all together and sew them together. You will need to sew along every loose end. You can use a special stitch if you’d like. I used an arrow stitch for mine.
SEW
The best thing about these is that you don’t use much fabric and the fabric combinations and shapes you can use for this project are endless!
WHOLE SET
I hope you enjoyed this week’s LLC! Don’t forget to check out my lovely blogging partner, Monique’s awesome photo coaster set!
I have a couple other DIY Coaster Set’s coming up on SewCal Mama over the next 6 weeks. Come back and check them out! :D

Tuesday, September 4, 2012

Hard work pays off.

I have some very exciting news for you today! A few weeks ago, I was contacted by a group of people who wanted to translate my DIY tutorials into French! Crazy, I know! This week marks my first French translated DIY project, they decided to go with my DIY Old School Address Box! If you want to check out my profile on their website CLICK HERE. Thank you all so much for helping my little piece of the internet grow and become so special. I truly appreciate every single reader and comment!

image


<3 Tia

Monday, September 3, 2012

Live Laugh Craft | Volume 3: DIY Fabric Bunting

Today's LLC project is DIY Bunting! I have been wanting to try this for a long time but to be honest, it looked a little intimidating! I finally decided to make a couple fabric bunting lines, one for my friend, who is having a baby girl soon and one for my niece's 12th birthday. I'm already planning more to make because of my amazing results! Boy ones are next on the agenda! Stop by and see Monique's adorable paper bunting project, too!

cover

suppliess

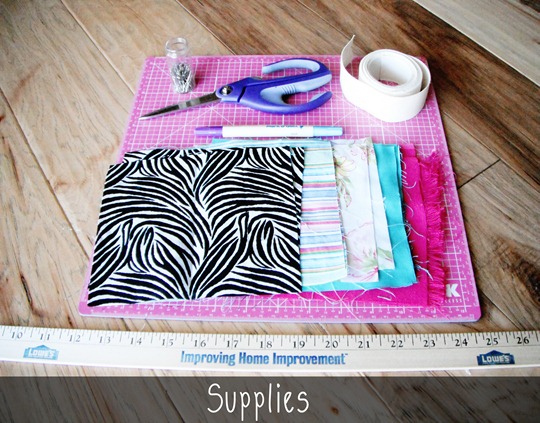
Supplies: Fabric Rectangles (6"x7")2 for each pendant + Rug Binding (8 ft.) 

Pantry Supplies: Sewing Machine, Iron, scissors, pins, vanishing ink pen, cutting board.

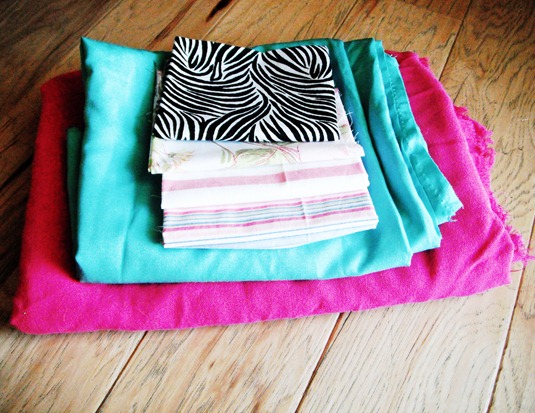
fabrics

You will want to use fabrics that make each other pop!

FOLD HAMBURGERDRAW AND CUT

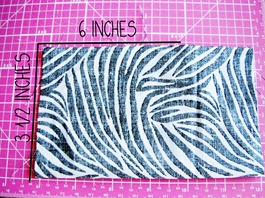
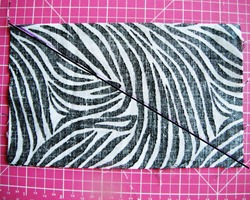
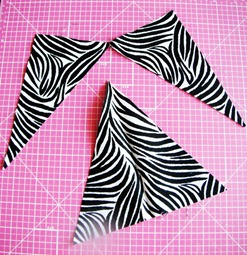
Fold your rectangles hamburger style so that they measure 31/2 inches by 6 inches. Then iron them flat, draw a straight line diagonally across the fabric.

3 PIECESTRIANGLES

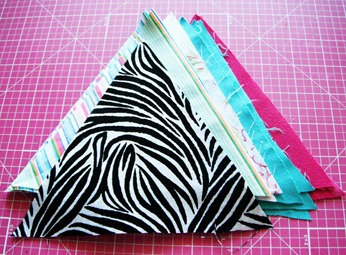
You should have 3 pieces after the last step, one triangle and two scrap pieces. Do this with the rest of your fabric pieces. I made 9 pendant buntings so I needed 18 fabric rectangles/triangles.

TWO TRIS FACING2 SEWN CORNERS

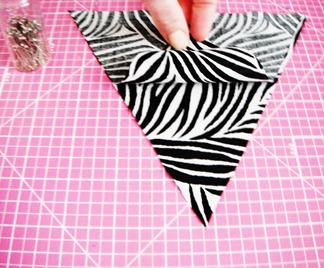
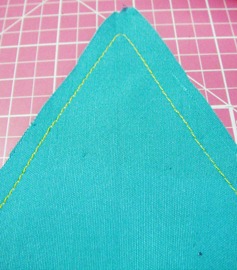
Next,  pair up your pieces. With the patterns facing pin and sew two sides of your triangles. Then turn them back to their pattern sides. You should have a perfect triangle now.

IRONED BINDING

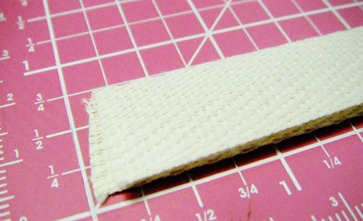
Fold and iron your rug bunting in half. You will want it to be as close to perfect as possible.

PIN TRIS

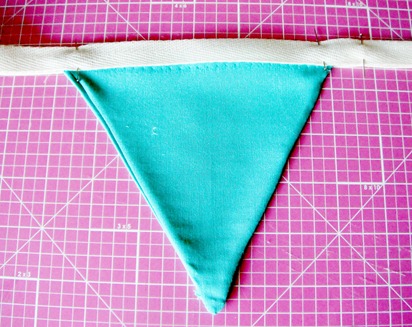
Starting about 10 inches into your binding, start pinning your pendants inside of your binding.  Space them about 2 or 3 inches apart.

SEW YOUR BUNTING

Now sew all the way down your bunting, making sure that your pendants are secure and properly sewn in. Then, Enjoy!


Have you ever tried making bunting before?